Hello Friends...
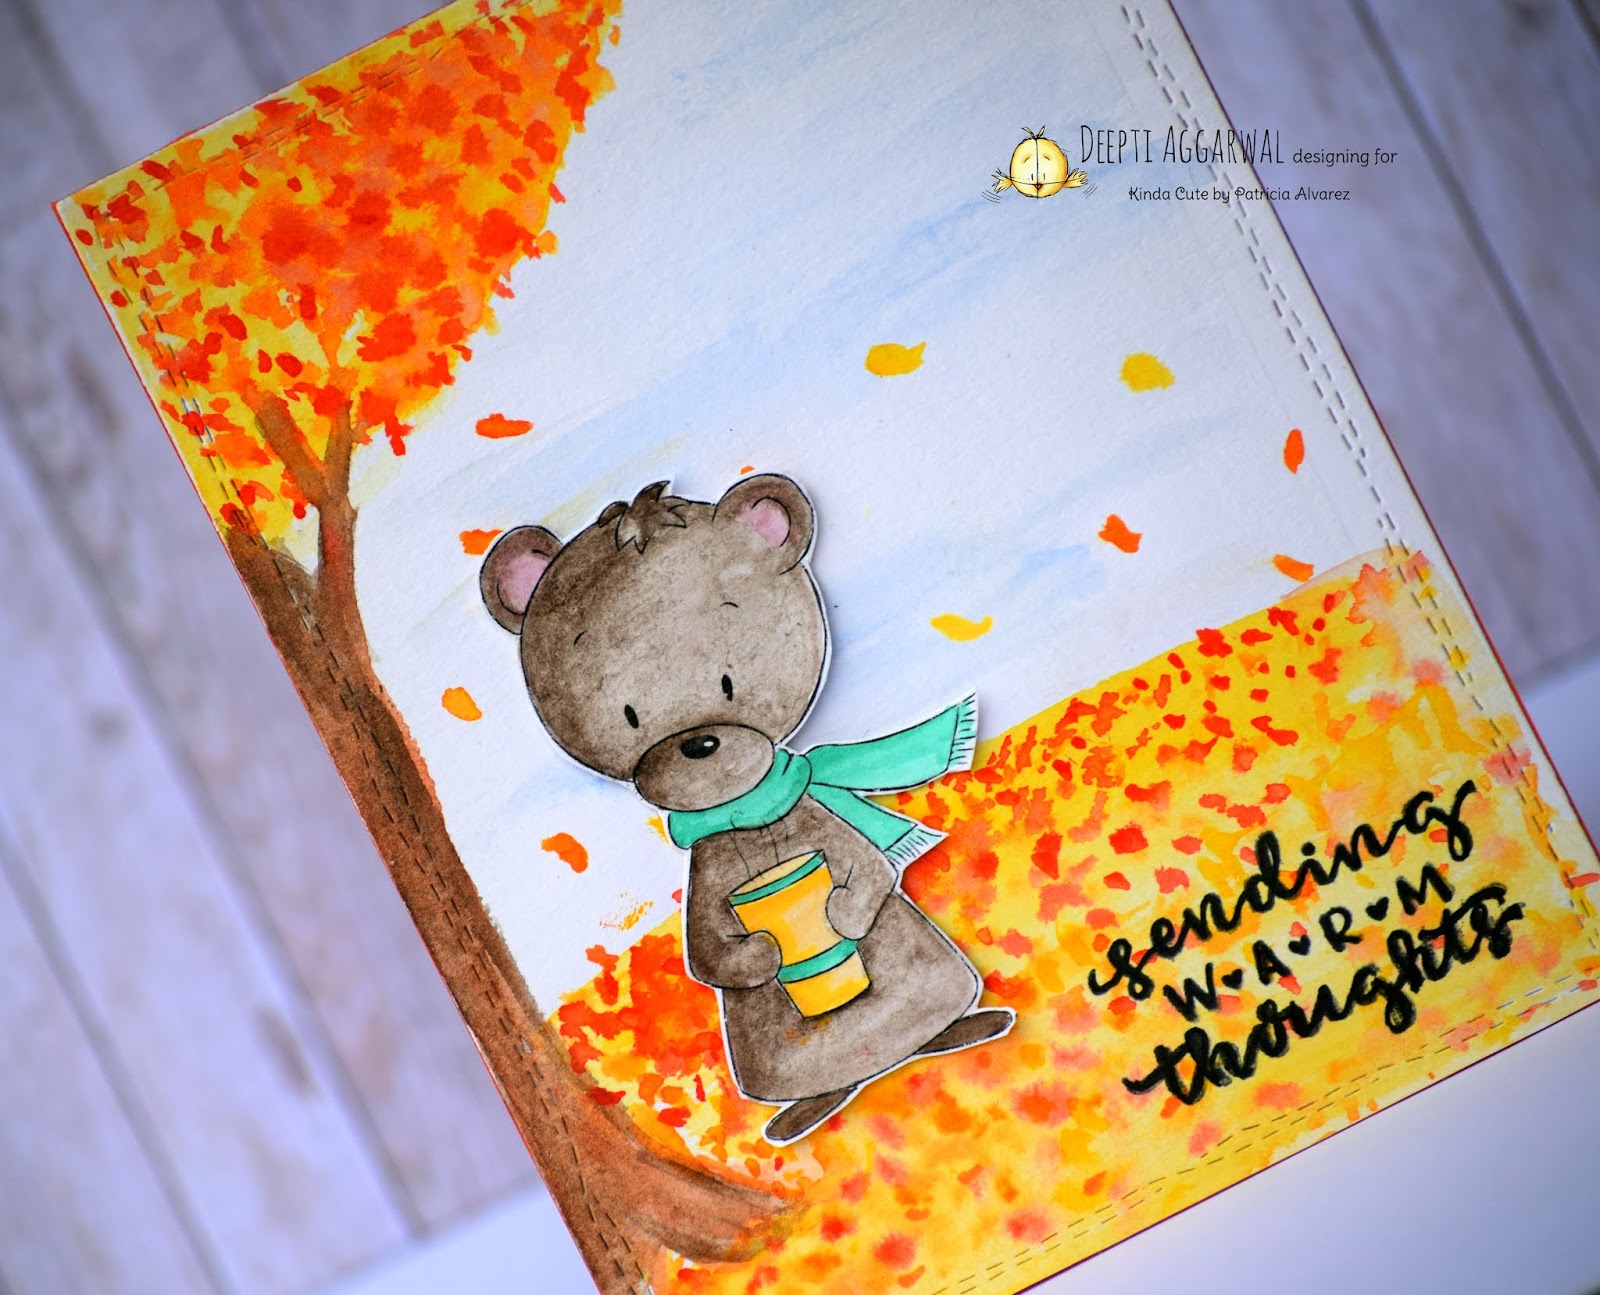
Here I'm stopping by to share my DT Post for Kinda Cute by Patricia. For my card I have used this cute digi called Bear with cup.
Yes.... FALL is here... Wind is getting colder here in Belgium...Leaves have started changing its color...And in coming days, I can imagine the scene which I have created in my card...Have a look :)

So inspired by nature, I created this water coloured background with free hands on die cut out rectangle panel...This cute bear was just perfect for this background having a warm coffee in this weather. And luckily, I found the perfect sentiment too from winnie and walter.
Here is the close up...
I Hope you like it.
Thank you so much for stopping by!!
Hugsxx
Playing along with:
Simon Says Wednesday Challenge - Anything goes
Simon Says - Work it Wednesday Challenge
Uniko Challenge #55 Anything Goes + optional twist Autumn

Cut it up Challenge 183 - Into the Woods
Word Art Wednesday Weeks #405-#407 - Anything Goes