Showing posts with label Tubby Craft. Show all posts

Sunday, 10 January 2021

Stenciling with Glitter Paste - Hello Beautiful

Hello Everyone,

I'm stopping by to share this super glittery stenciled Birthday card using Crealies Silver Glitter paste with Tubby Craft new Stencil. I really like the effect of Glitter paste over ink blended background. 


To make this card, I ink blended white card stock using tubby craft inks. I have used Raspberry, Magenta, Sapphire Blue and Turquoise colors. Then, I stenciled it with Tubby Craft Foliage 1 using sliver glitter paste.


Once it dried, I stamped the Butterfly on vellum and heat embossed it with gold embossing powder. Fussy cut it and adhered the same on stenciled background along with die cut sentiments where "Hello" dies are from SSS and "Beautiful" dies are from STAMplorations.

Here is the close up... Isn't this texture is looking beautiful? ;)


I really like how this card turned out. I hope you like it too.

Thank you so much for stopping by!!!
  
Hugsxx

Friday, 4 September 2020

Thankful - Stamping on pattern paper part 2

Hello Everyone,

I'm stopping by to share another floral card using Tubby Craft Bright Day  stamp set. You can find the first one here along with video tutorial..

Over to my card..


To make this card, I stamped the flowers and leaves on orange and green pattern paper respectively using tubby craft inks and fussy cut these. To highlight the flowers, I ink blended the middle part of the flowers with orange ink.


Once satisfied, I adhered these flowers and leave son the base card. Added the die cut sentiment on vellum. Finally added some silver sequins to complete it.

You can check out my video "Stamping on pattern paper" to know how I made it. Please do subscribe to my channel if you like my work :)


Thank you for stopping by!!

Hugsxx
Deepti Aggarwal

Thursday, 3 September 2020

Tubby Craft - Stamping on Pattern Paper

Hello Everyone,

I'm stopping by to share this floral card using Tubby Craft Bright Day  stamp set.

For this post, I tried something different.. I did stamping on pattern paper for the first time and really like how it turned out. I hope you too :)

I made two cards using the same technique, Here is the first one...


I have a step by step video tutorial for this card here.. If you like my work then Please support me by subscribing to my channel :)


Here is the close up..


I hope you get inspired. Thank you so much for stopping by!!

Monday, 24 August 2020

Tubby Craft - Black & White embossed cards

Hello Everyone,

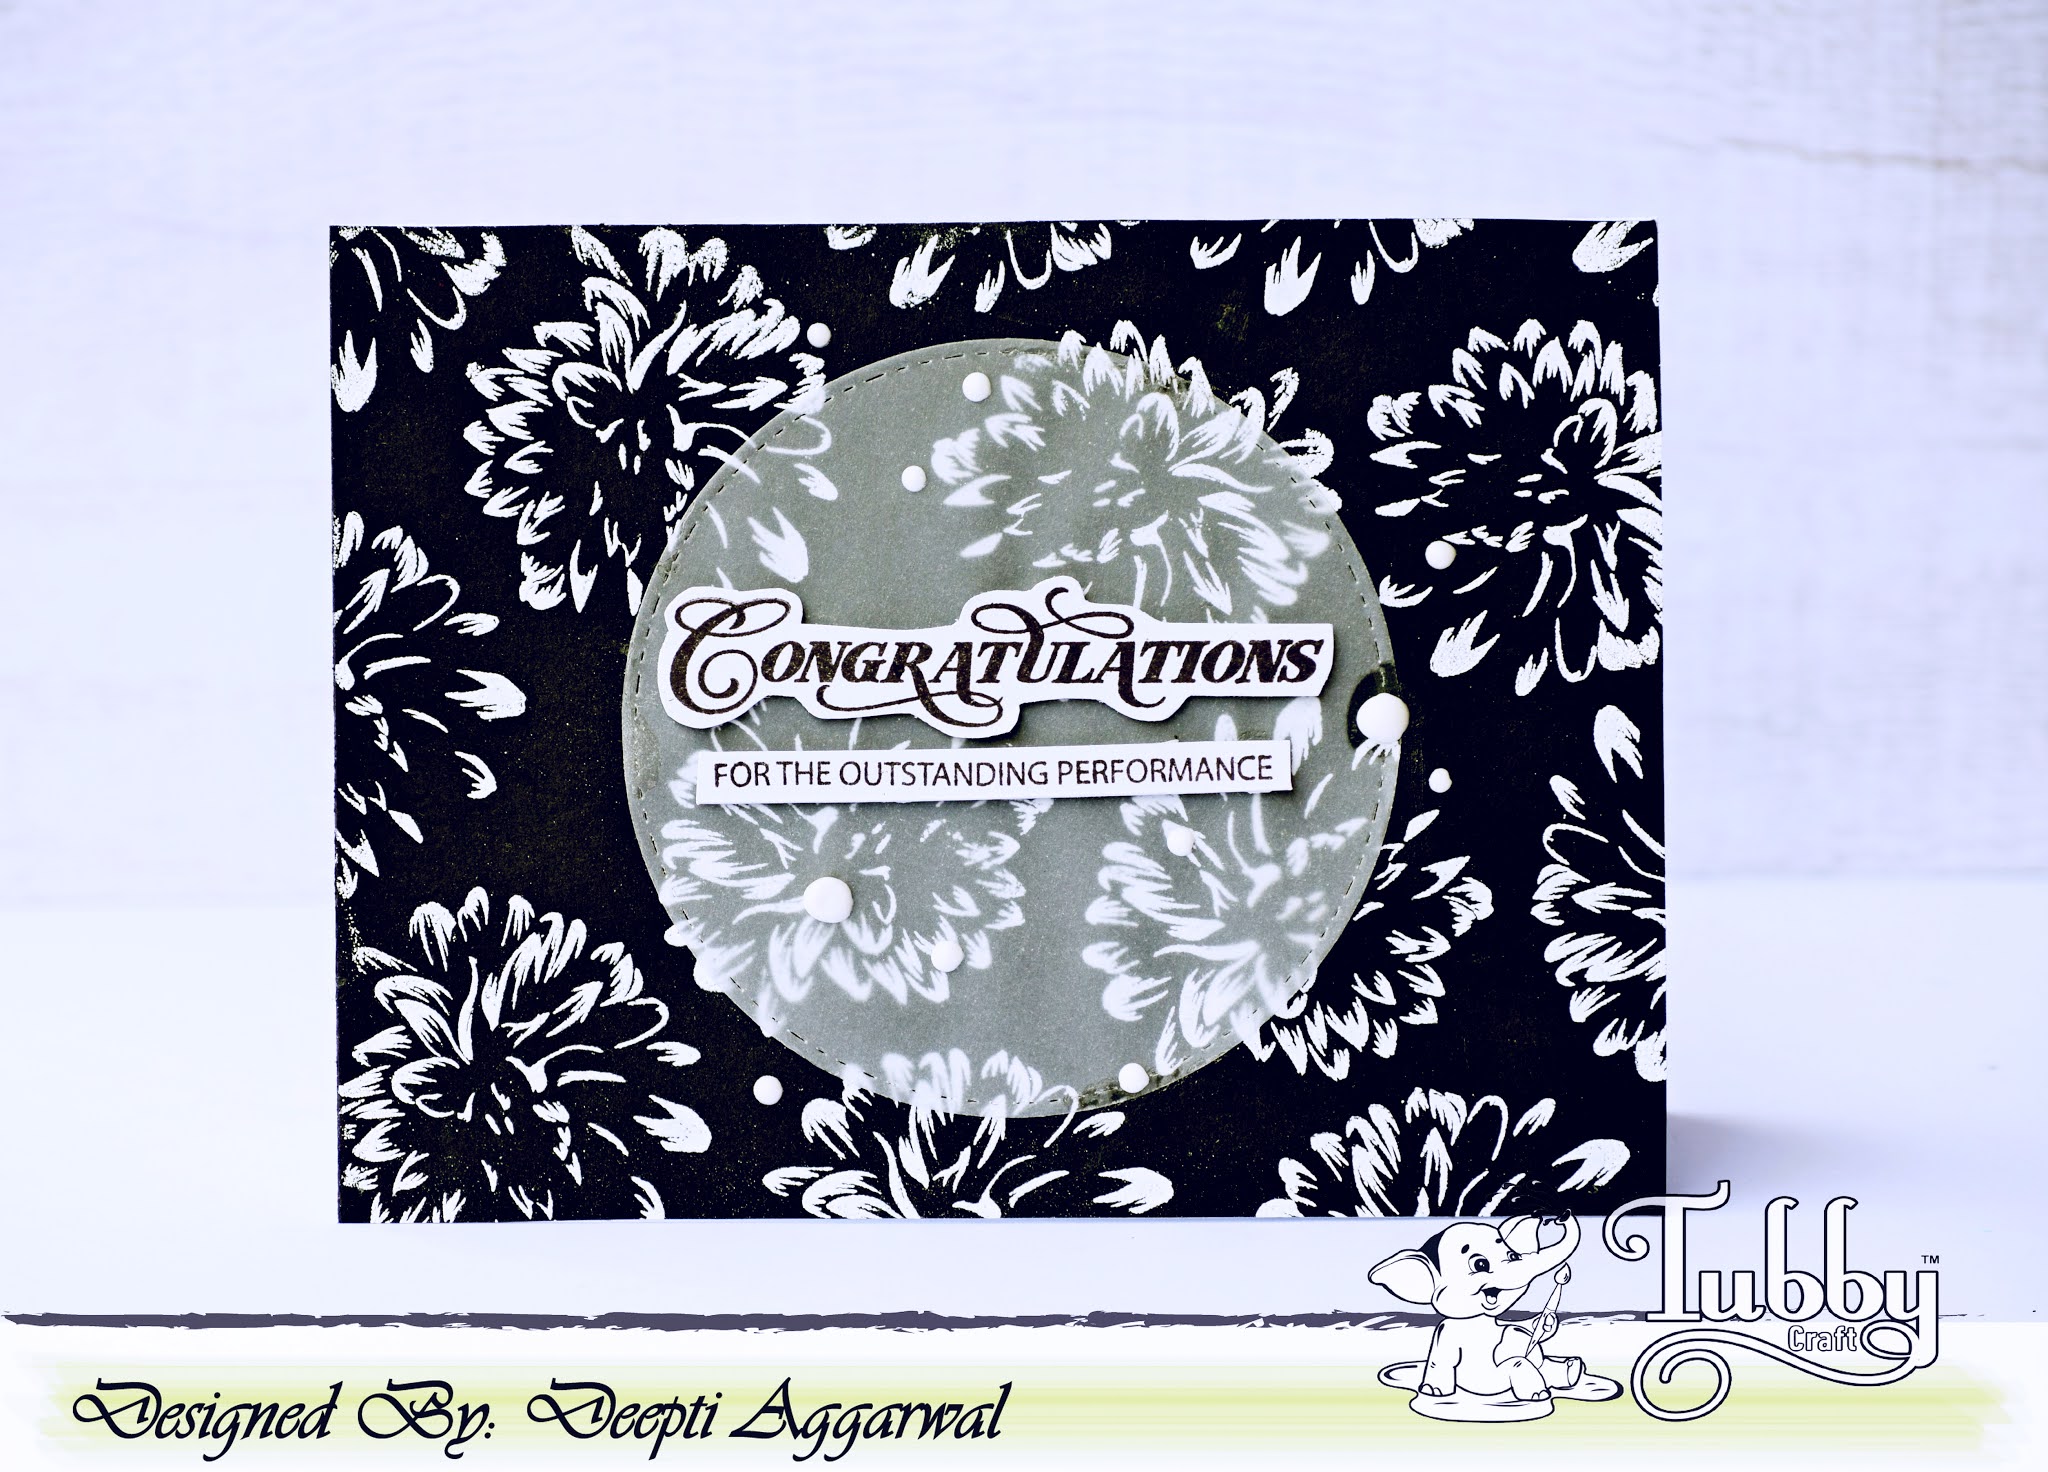
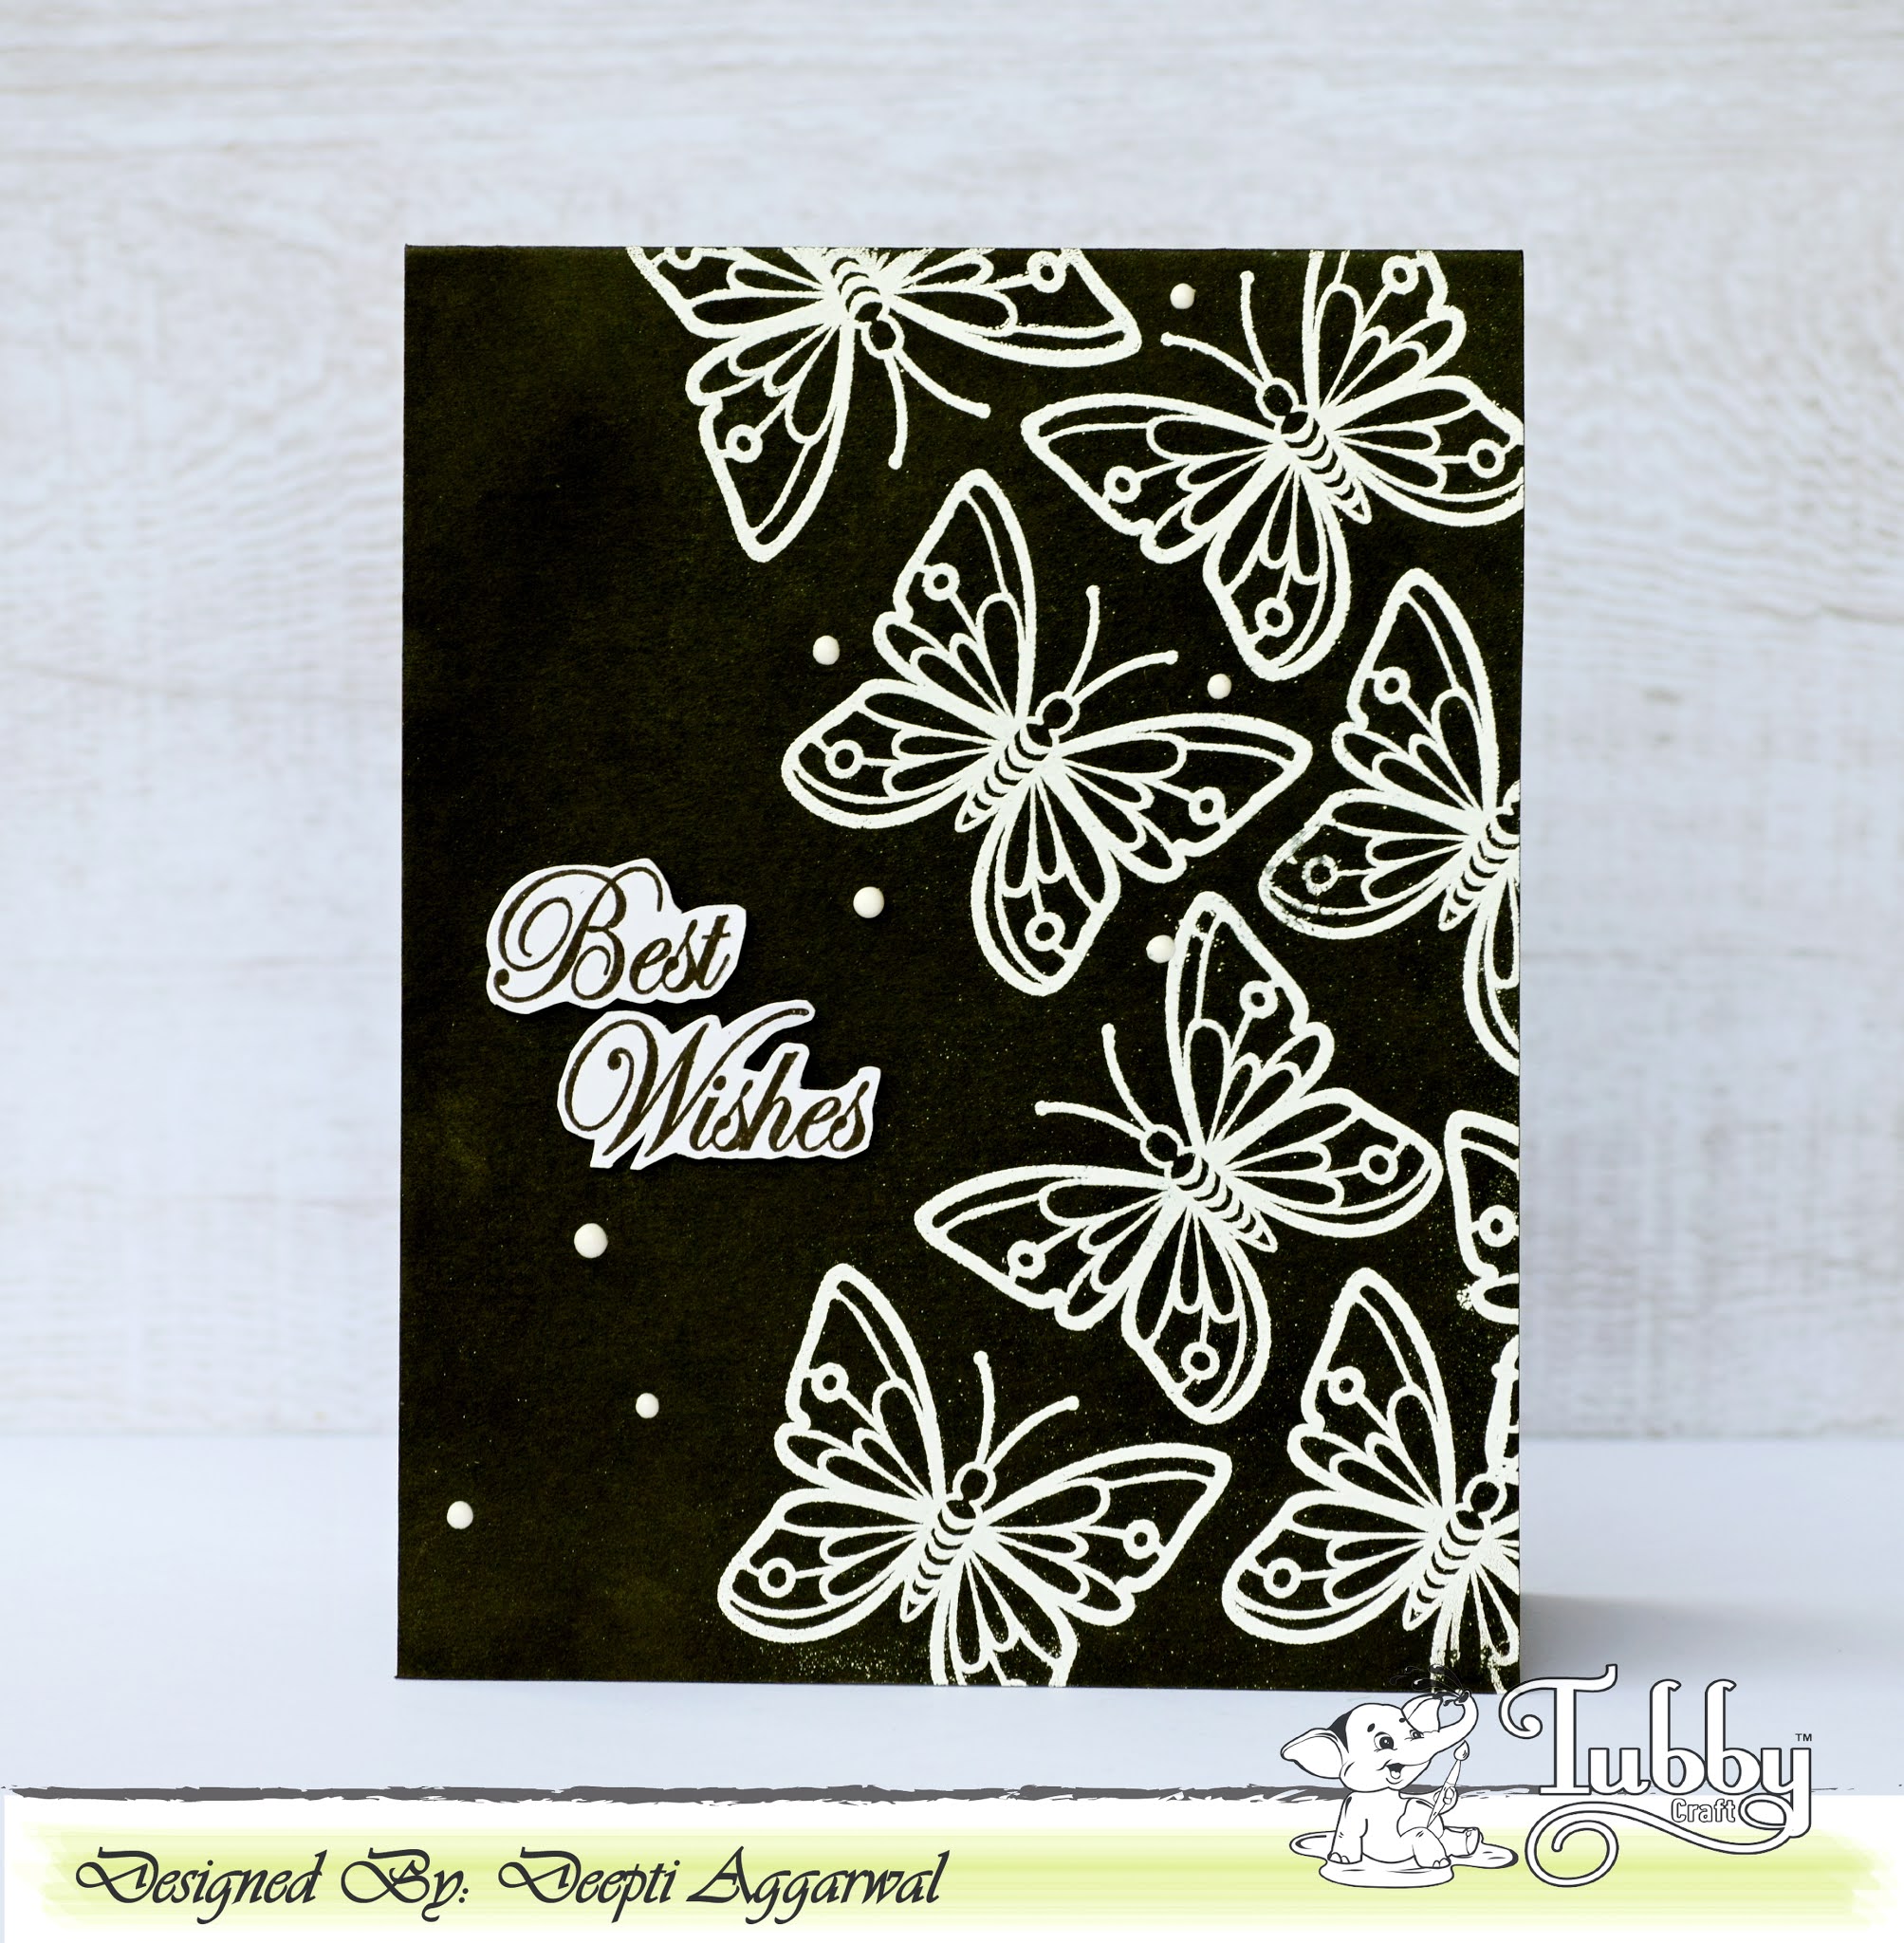
I'm stopping by to share black and white embossing cards using tubby craft stamps.

If you check my cards you will find that I mostly make rainbow cards.... So, I thought of trying something different.... And I like these black and white beauties so much that I could stop myself to just one instead I made three... yes..

And I have a process video too for one of them..

Over to my cards


I've used Camelia Layered Flower and Wishes With Magnolia stamp set to make this card.


Hop over to You tube channel to see how I've made this card. you can find it at my YouTube channel here 


Here is another card using Butterfly Love and Fancy Sentiments stamp set.


Close up


And here is my final black and white beauty using Plumeria Florals and Bright Day stamp set.


Again close up


I hope you get inspired. Here is the pic of all the cards together..


Thank you so much for stopping by!!

Hugsxx
Deepti Aggarwal

Friday, 12 June 2020

Tubby Craft DT Post - Penguin Love

Hello Everyone,

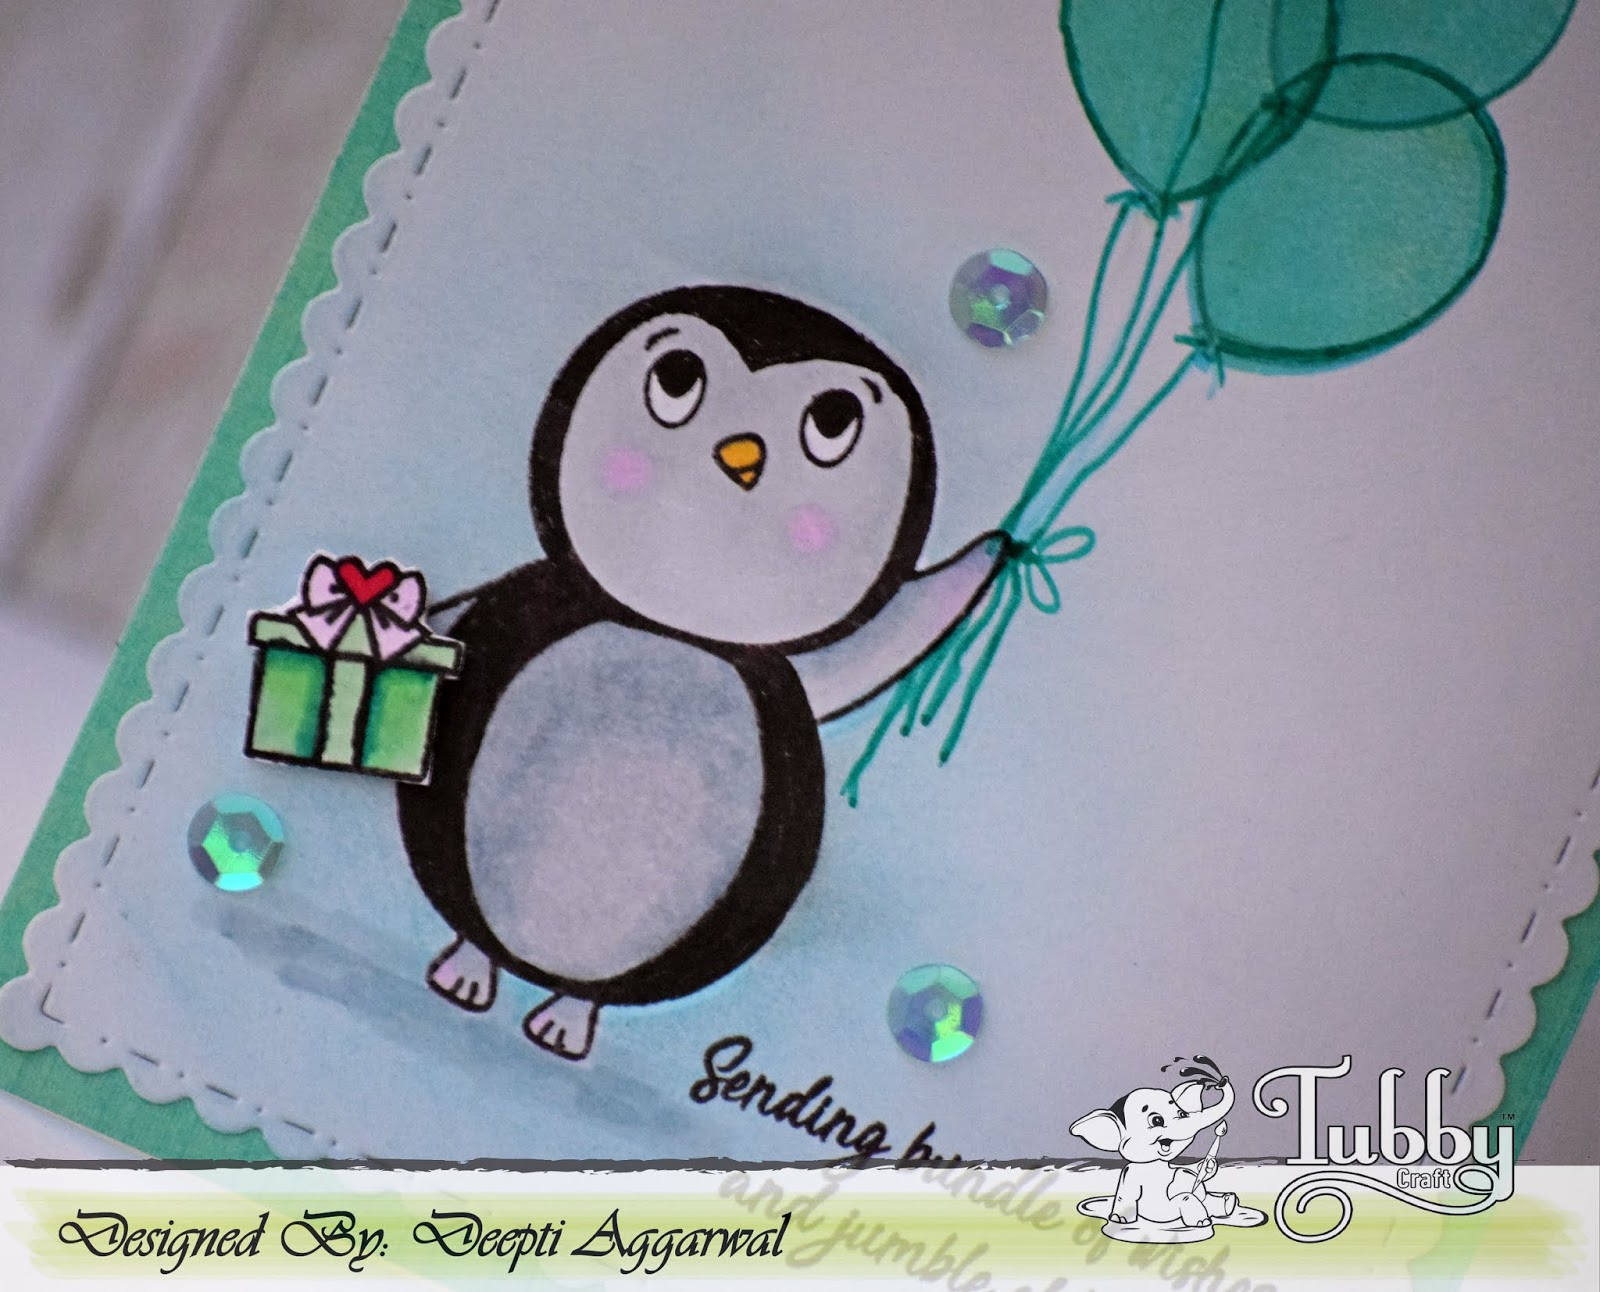
I'm stopping by to share two birthday cards using cute Tubby Craft stamp called "Penguin Love" and "Birthday Wishes". I have used Masking technique to make both the cards.

Card 1


To make this card, I die cut out the white card stock and stamped the penguins by masking them using Black tubby craft ink. Once satisfied, I stamped the balloons too and colored all these images using alcohol markers.


After that I stamped the sentiment on white strip and adhered the same using foam tape along with washi tape. Glued it on Pista green card stock. Finally added some clear sequins to complete it.


Here is my second card using same stamp set..


For this card also, I die cut out white card stock . Then I stamped the image and masked it to ink the background. After that I stamped the balloons and the sentiment. Added stamped and fussy cut gift too. 


Finally adhered it on matching note card and added some matching sequins to complete it.


I hope you like it.

Thank you so much for stopping by!!!

Hugsxx

Thursday, 19 March 2020

Smile!!!

Hello Friends,

Here is my quick post... Sharing this ink smooshed flower card ..


For this card, I stamped the flowers and leaves using Tubby Craft  Floral Peony stamp set and fussy cut it. Then, I ink smooshed it using red, orange, pink and purple tubby craft inks.


Once satisfied, I adhered these flowers and leaves on the card stock which I stenciled using tubby craft dots stencil.


Finally, added the die cut Smile Word Die - CUTplorations sentiment along with some silver sequins to complete it.


Wednesday, 18 March 2020

Beautiful you!!!

Hello Everyone,

Here is my quick post, stopping by to share this floral card..

Over to my card..


To make this card, I  die cut the watercolor card stock using Crazy Double Running Stitch Rectangle Nesting Dies - CUTplorations and inked the background using Brushos (crystal colors) and splattered it with same colors and let it dry. 


Then, I stamped the leaves using same color. Meanwhile, I stamped the flowers using Tubby Craft Buttercup stamp set , colored and fussy cut it. 


Adhered these fussy cut flowers on the card stock using foam tape. Added the die cut sentiment using  Beautiful Word Die - CUTplorations & You & Me Phrase Die - CUTplorations. Finally added some sequins to compete it.

Thank you so much for stopping by!

Hugsxx
Deepti Aggarwal

Playing along with:

Tuesday, 3 March 2020

Butterfly Love - Tubby Craft DT post

Hello Everyone,

Here I'm back with two butterfly cards. You will be surprised to know if I tell you, how I colored these butterflies... definitely nothing great...😉....

So, here is the secret...😀... While ink blending my images or background instead of keeping some rough paper  at the base I use white A4 size card stock and keep shifting it, till it is completely filled with ink. And if you know me, then you must be aware that most of my cards are rainbow colored so do this background which I used  for butterflies..

Now you know the secret.😉.. let me show you my cards...


To make this card, I repeatedly stamped the roses using Rose & More stamp set by masking it. Once satisfied, I stamped the butterflies on the card stock which I mentioned above using gold embossing powder and fussy cut it.


Adhered the fussy cut butterflies and stamped the sentiment using fancy sentiments stamp set to complete it.

Here is my second card..


For this card, I adhered the fussy cut butterflies using foam tape on top half of the card.


Stamped the sentiment "Smile" from Plumeria Florals stamp set to complete it.


I hope you get inspired and now on you will use white card stock instead of rough paper for your ink blending.

Thank you so much for stopping by!!!

Hugsxx
Deepti Aggarwal