Monday, 29 November 2021

Maker Forte - Heat Emboss Resist Christmas Cards

Hello Crafty Friends, 

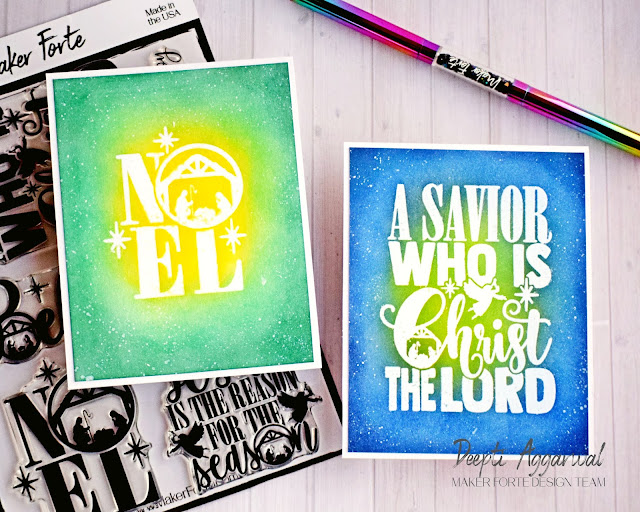
I'm at Maker Forte's Blog with these two Christmas Cards using Heat Emboss Resist Technique. To make these cards, I've used Maker Forte's Latest Release Stamp called Believe in the Reason . Over to my cards..

Heat emboss Resist Christmas Cards

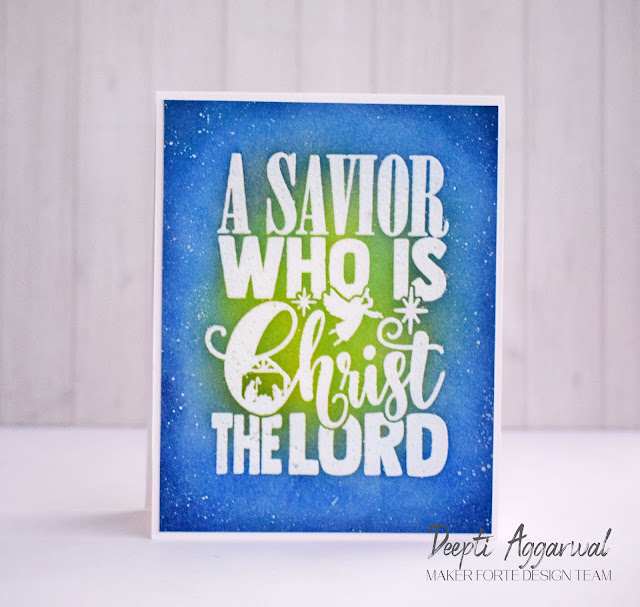
Card 1

For this card, I took Ultra White - Heavy Weight Cardstock and stamped the big silhouette sentiment "A savior who is Christ The Lord" using Color Hive - Clear - Embossing Glue Ink Pad and heat embossed it using Ranger's Clear Embossing Powder.

Ink Blended Christmas Card

Then, I Ink blended it using Distress Inks. For that I've used, Faded Jeans, Chipped Sapphire, Blueprint Sketch , and Mustard Seeds Distress Inks. 

Handmade Christmas Card

I covered the center of the card panel with rough paper and splattered the edges of the card panel using white acrylic paint to add some interest. Once dried, I adhered this Ink blended panel to A2 size Ultra White - Heavy Weight Cardstock to complete it.

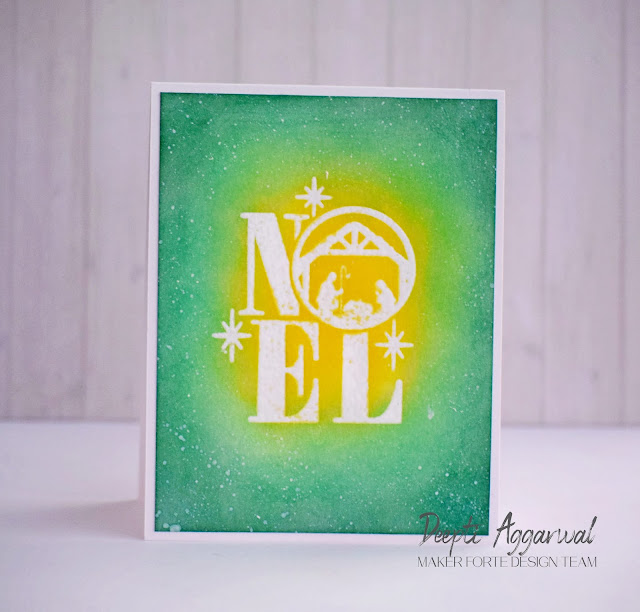
Card 2

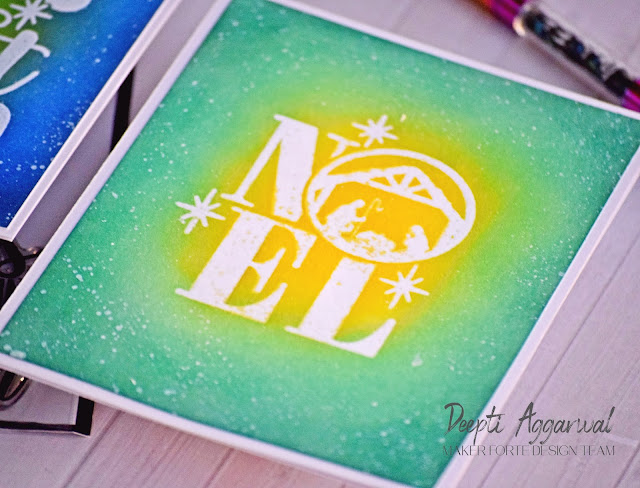
For this card, again I took Ultra White - Heavy Weight Cardstock and stamped the "NOEL" Silhouette sentiment with nativity scene using Color Hive - Clear - Embossing Glue Ink Pad and heat embossed it with Ranger's Clear Embossing Powder.

Heat Embossed Christmas Card

Then, I Ink blended it using Pine Needles, Cracked Pistachio and Mustard Seeds Distress Inks.

Noel Card

Like in previous card, I covered the center of the card panel with rough paper and splattered the edges of the card panel using white acrylic paint to add some interest and adhered this panel to the White Card base.

Handmade Christmas Cards

I really like this stamp set to make some quick Christmas Cards for my family & friends. I hope you get inspired. Thank you so much for stopping by.

Hugsxx 
Deepti Aggarwal 

Friday, 26 November 2021

Crealies - Shaker Card with Partial Die Cutting (Video Tutorial)

Hello Everyone,

I'm stopping by to share this fun Shaker card using Partial Die cutting technique. To make this card, I've used latest released Mini Slimline cross stitched dies and the the beautiful Pattern Dies.

Over to my card..

 
If you re wondering how I've used partial Die cutting in this Shaker card then hop over to my YouTube channel to check the step by step Video Tutorial or click below to watch the video.


Here is the close up..


I really enjoyed making this Mandala shaker card and putting this video together. 


I hope you get inspired.

Thank you so much for stopping by!! 

Hugsxx
Deepti Aggarwal

I have used following Crealies products:

Crealies Dies / Stansen:
   

Playing along with:

Monday, 22 November 2021

STAMPlorations - Thank You Fall Card

Hello Everyone,

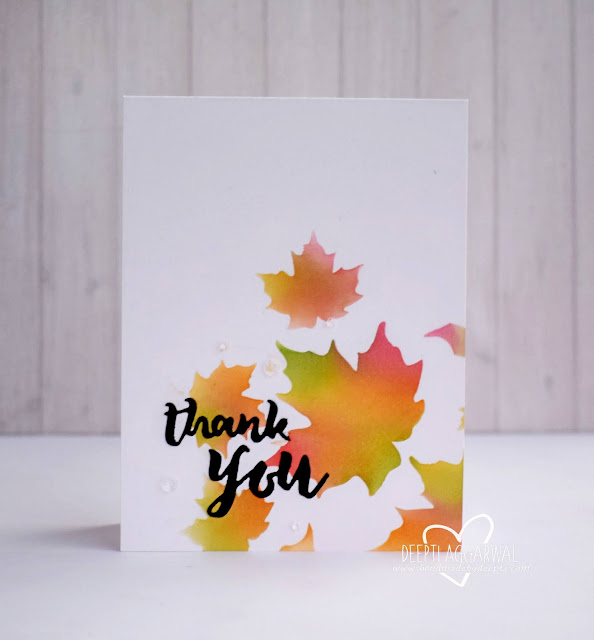
Here is my quick post, I'm stopping by to share this clean & simple Fall card using Autumn Falling - ARTplorations Stencil.  

Over to my card..

Stenciled Thank you fall card

To make this card, I took A2 size White Card base and partially stenciled it with fall color Distress inks.


Meanwhile, I die cut out this sentiment on Black cardstock using Thanks a Latte Phrase Die and You & Me Phrase Die from STAMPlorations.

Stenciled Autumn card

Finally I added some clear sequins to complete this Thank you card. I hope you like it.

Thank you so much for stopping by!!

Hugsxx
Deepti Aggarwal

Playing along with:


Saturday, 20 November 2021

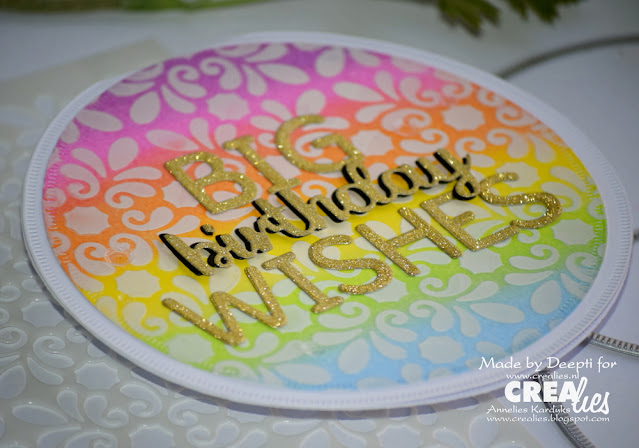
Crealies - Big Birthday Wishes !!

Hello Everyone,

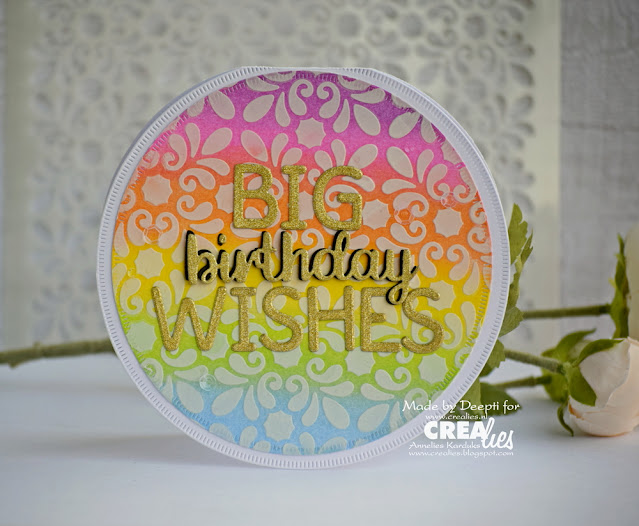
I'm stopping by to share this colorful shaped Birthday card using Crealies Amber stencil where I've use texture paste to do the stenciling. 


To make this card, I first die cut out a circle panel using Crealies dies. Then I ink blended it with Rainbow colored Inks. 


I secured Amber stencil with non permanent tape over the ink blended panel and stenciled it with texture paste. Once dried, I adhered this panel on Circle Card stock.


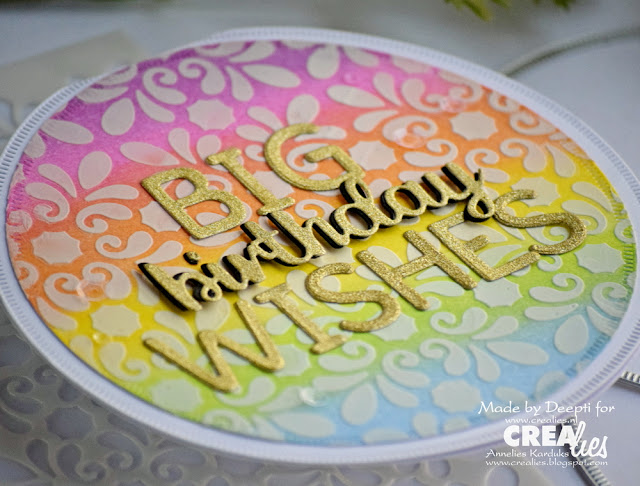
Meanwhile, I die cut out the sentiment on Gold Glitter and Black cardstock using Alfies and birthday Dies. I glued it on the card panel where I adhered layered Birthday sentiment with foam tape to give it some dimension. I hope you can see some simmer of Glitter cardstock in below pic.


Finally, I added some clear sequins to complete this card. I really like how this card turned out. I hope you get inspired. 

Thank you so much for stopping by!! 

Hugsxx
Deepti Aggarwal

I have used following Crealies products:

Crealies Dies / Stansen:

Friday, 19 November 2021

Maker Forte - Gold Embossed Christmas Cards

Hello Everyone, 

I'm at Maker Forte's Blog with these easy Gold Embossed Christmas cards using Deer Builder Stamp set. I really enjoyed playing with this Deer Builder stamp set and putting these cards together. And the best part, I was able to use my colored Cardstocks as front panel which I hardly do ;) Yay!!! 

Over to my cards...


To make these cards, I first die cut out the scalloped rectangular panel using different colored card stocks from Maker Forte. Then with the help of my stamping tool, I stamped the deer image from Deer Builder Stamp set using Color Hive Clear Embossing Ink . I heat embossed it using Ranger's Gold Embossing Powder.


After that, I stamped Deer's Antlers (there are so many options available in the stamp set to choose from) with Color Hive Clear Ink and heat embossed it too with same Gold Embossing Powder. Then, I heat embossed the sentiment from Believe in the Reason Stamp set.


To complete these cards, I simply adhered these embossed panels to the same colored Card base using foam tape to give some dimension. For the below card, I've stamped the deer using backside of the silhouette Deer stamp to have some variety ;).


I really like how these cards turned out. Gold embossing was really looking awesome on dark colored Card stock. I hope you get inspired.


Thank you so much for stopping by. Have a wonderful Crafty weekend.

Hugsxx 
Deepti Aggarwal 

Playing along with:

Wednesday, 17 November 2021

Kinda Cute by Patricia - Warm Winter Wishes

Hello Everyone,

I'm stopping by to share my DT Post for Kinda Cute by Patricia. For this card,  I have used this cute Digi called 'Bear with cup'  . This is my second card with the same image you can find the first one here  which I made almost 2 years back :).

Over to my card..


To make this card, I took water color paper and water colored the background with loose hands. Then I stenciled it with Texture Paste and let it air dry.


Meanwhile, I printed this digi on Water color paper, colored it with Derwent Water color pencils and fussy cut it. I adhered it on the card base using foam tape.

Finally I stamped the sentiment and added some sequins to complete this card. I really like how this card turned out. I hope you like it too.

Thank you so much for stopping by!!

Hugsxx

Deepti Aggarwal

Playing along with:


Monday, 15 November 2021

Gerda Steiner Designs - Love you more than Coffee

Hello Everyone,

I'm stopping by to share this cute Coffee card using Gerda Steiner's digi stamp. Isn't this guy cute??

Over to my card..


To make this card, I took White card base and stenciled it with "Coffee Bean Background" Stencil from Funky Fossils Designs using Tea Dye Distress Ink.


Meanwhile, I printed these cute digi, colored it with Derwent Watercolor Pencils and fussy cut it. I adhered these to the card panel using foam tape.


Then, I stamped the sentiment from Altenew to complete this card. I hope you like it.

Thank you so much for stopping by!!

Hugsxx

Deepti Aggarwal

Playing along with:


Friday, 12 November 2021

Crealies - CAS Stamped Card

Hello Everyone,

This is Deepti. I'm stopping by to share this Clean & Simple Stamped card using Bits & Pieces stamp from the Amber series. 


To make this card, I first die cut out White card stock using  Crealies Square with little stripes XXL dies where I have used 3rd die from the outside. I lightly marked straight & diagonal lines with pencil across the panel passing the center.

After that I die cut out 3rd circle from the inside using Crealies Circle dies and kept it at the center of the card and again marked it very lightly with the pencil to guide my stamping.


Then, I stamped this beautiful Motif alternatively using "Kitsch Flamingo" & "Salvaged Patina" Distress Oxides. 

I adhered this stamped panel to white card stock where I ink blended the edges using Distress Oxide.


Meanwhile, I ink blended the die cut out circle and stamped the sentiment using Black Archival Ink. I adhered it at the center of the card panel using foam tape.

I added some pearls at the middle of the motif to complete this simple & elegant card.

I'm really enjoying playing with this beautiful Amber Series. I hope you get inspired. 

Thank you so much for stopping by!! 

Hugsxx
Deepti Aggarwal

I have used following Crealies products:

Crealies Dies / Stansen: